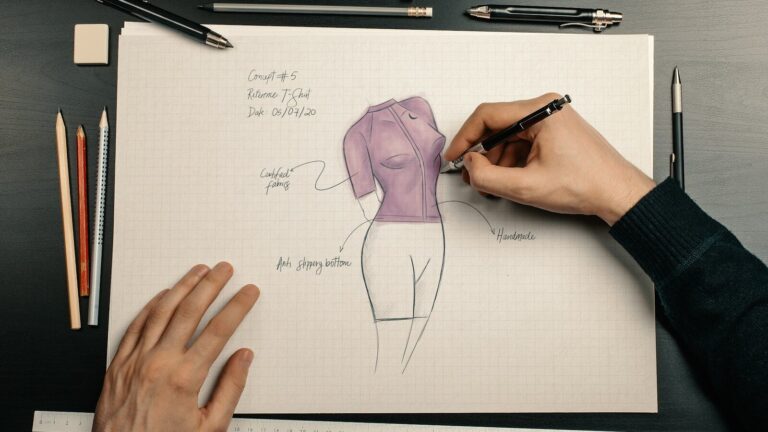
You bought the markers. You have the paper. Now you are staring at a blank page with no idea what to actually draw. The best things to draw with alcohol markers when you are starting out are not the most impressive subjects — they are the ones that teach you a specific skill you need to build before the next one. Here are 20 concrete practice ideas, grouped by difficulty, with the technique each one develops.
Key Takeaways
- Start with subjects that isolate one technique at a time — a gradient strip teaches blending better than a full sunset scene.
- Work through the easy warm-ups first, even if you feel ready for more: they build muscle memory that makes harder subjects easier.
- The blending skills section (ideas 8-14) is where most beginners level up fastest — plan to revisit these subjects multiple times.
- Level-up projects (15-20) combine multiple techniques; attempt them only after you can blend cleanly on scrap paper.
- A physical log of these practice drawings is worth keeping — progress is easier to see when you have 10 gradient strips from different weeks.
20 Things to Draw with Alcohol Markers
Organized by skill tier. Start at tier one even if you feel beyond it — these subjects reveal technique gaps that will surprise you.
Easy Warm-Ups (Ideas 1-7)
These seven subjects teach the fundamentals — flat fills, basic gradients, simple shadows — without adding compositional complexity. If you can do all seven cleanly, you have the foundation for everything below.
- 1. Single fruit (apple, orange, or lemon). Draw a simple round or oval shape and fill it with one base color. Add a small shadow pass on one side with a slightly darker tone from the same family. This teaches flat color fills and introduces the concept of a light source. Takes 5 minutes. Do it five times in a row with different fruits to build consistency.
- 2. Gradient swatch strip. Pick two markers from the same color family — one light, one medium. On a 3-inch strip of marker paper, blend them so they meet in the middle with no visible line. This isolates the blending technique without any drawing pressure. It is the single best warm-up in this list. Do 10 strips in a session before you draw anything else.
- 3. Simple sky with flat clouds. Fill a rectangle with a light blue. Leave irregular white patches as your cloud shapes. Then layer a slightly deeper blue behind and between the clouds. You practice layering light to dark and learn to leave negative space — a skill that transfers to highlights on every subject.
- 4. Geometric shapes (cube, sphere, cylinder). Draw the shapes with a pencil first, then fill with alcohol markers. A sphere forces a circular gradient from highlight to shadow. A cube requires three visibly different tones on three planes. These subjects are forgiving because the shapes are predictable — the only variable you are solving is value and shading.
- 5. Single flower (daisy or sunflower). Color one petal at a time, keeping colors clean between adjacent petals. Flowers are excellent practice because they force small, contained color fills and teach you to work without bleeding color into a neighboring section. Use the bullet tip for petal edges.
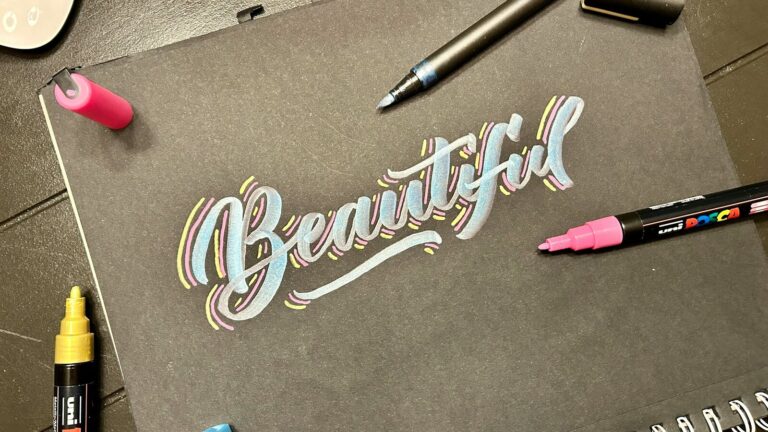
- 6. Block lettering filled with color. Draw large block letters in pencil, then fill each letter with a clean flat color or a simple gradient. This is pure chisel-tip control practice. The straight edges and contained shapes give you immediate visual feedback on pressure consistency and clean fill coverage.
- 7. A leaf cluster. Draw three to five overlapping leaves and fill each with a slightly different green. Practice varies by leaf: lighter in the center where light hits, darker at the edges and in shadow. Overlapping shapes teach you to handle color adjacency — keeping edges crisp between shapes that share a boundary.
Build Blending Skills (Ideas 8-14)
These seven subjects specifically target the blending and layering techniques that define alcohol marker work. Expect to do each of these multiple times — the first attempt reveals the gaps, the third attempt shows real improvement.
- 8. Sunset sky. Blend orange to pink to purple across a wide horizontal rectangle. Three colors, two transition zones, worked fast. This is a multi-color gradient test. The most common mistake here is stopping between colors — which leaves hard lines. Keep moving across all three colors before any of them dry.
- 9. Galaxy or nebula. Start with deep purple-blue and build outward, adding lighter blues, pinks, and purples while the base is still wet. This teaches reverse layering — starting dark and brightening outward. Small white dots (white gel pen after drying) become stars. The subject is forgiving because the texture is intentionally irregular.
- 10. Watermelon slice. Draw a wedge shape. You need to graduate from dark green rind to light green to white to pale pink to deep red flesh. Five color zones across a simple geometric shape. This tests your ability to keep multiple gradient sections moving simultaneously — a more complex version of the two-color strip.
- 11. Mango or peach. A single curved shape with a gradient from deep orange at the base to bright yellow at the top, with a blush of red on one side. Soft fruits are excellent subjects because the gradient is large, the color transitions are forgiving, and the form is organic enough to hide slight imperfections.
- 12. A single portrait eye. Draw a simplified eye — lid, iris, pupil — and practice the skin tone layering sequence: base tone across the entire lid area first, shadow tone along the upper lid crease second, and a deeper tone at the outer corner third. The iris gets concentric color rings. This is your first realistic skin-tone practice on a contained shape.
- 13. A section of fur or hair. Use the bullet tip and draw downward strokes in the direction the fur grows, layering from medium tone to dark on the same set of strokes. Alcohol marker drawing of hair and fur is about directional line density, not blended fills. This subject teaches you to build value through line count, not layer saturation.
- 14. Water or ocean waves. Fill a horizontal rectangle with light blue. Build up to deep navy at the bottom using three tones. Leave white horizontal strips as foam or reflection — either with negative space or a white gel pen after drying. Water teaches you to blend in the direction of movement, not in random strokes.
Level-Up Projects (Ideas 15-20)
These six projects combine multiple skills. Attempt them once you can do a clean two-color gradient on demand and hold consistent pressure on a flat fill. The goal here is building finished-piece confidence, not just isolating one technique.
- 15. A full illustrated food piece (sushi set or dessert spread). Multiple items, multiple textures, multiple color families on one page. You practice compositional color balance and the discipline of keeping colors clean between adjacent subjects. Rice, fish, and seaweed all read differently in markers — this is a texture variety exercise.
- 16. An anime or manga character bust. Skin tones for the face, layered color for the hair, flat fills for clothing, and ink line art underneath. This is the defining challenge for the manga-art ICP: the skin-tone layering sequence, hair direction strokes, and color boundary control all need to work together. Plan the color sequence before you start — skin first, hair second, clothing third.
- 17. A botanical illustration (potted succulent or houseplant). Graded greens from light highlight to deep shadow, plus fine-tip detail work for texture and veining on leaves. A succulent is ideal because each leaf is a separate contained shape with its own gradient — 10 leaves means 10 clean gradient attempts in a single piece.
- 18. An architectural or interior sketch. Grey families (cool grey plus warm grey), shadow under overhangs, and the combination of fineliner outlines with alcohol marker color fills. Architecture is the use case where grey control matters most — building a cool shadow versus a warm sunlit wall versus a neutral ground plane.
- 19. A piece that uses all three Finecolour tip types deliberately. Plan a subject where you use the broad chisel for large flat fills, the bullet tip for detail and line work, and the brush nib for organic blended passages. This is a meta-practice subject: you learn which nib to reach for which task, not just how to use each one in isolation.
- 20. A color study: pick 6 markers and create every possible two-color blend combination. With 6 colors that is 15 possible blend pairs. Work through all of them on scrap paper and note which transitions are smooth and which are abrupt. This builds a mental color library specific to your actual marker set — not the theoretical color wheel, but the physical behavior of your specific inks.
FAQ
The four questions beginners ask most when looking for alcohol marker practice ideas.
What are good things to draw with alcohol markers as a beginner?
Single fruits, gradient swatch strips, and simple geometric shapes are the best starting points. They teach fundamentals — flat color fills, basic gradient control, shadow placement — without adding compositional complexity. Once you can do a smooth apple with a clean shadow, you have the core skill set that transfers to more complex subjects.
Do alcohol markers work well for drawing portraits and skin tones?
Yes, but skin tones are an intermediate skill, not a beginner one. Before attempting a portrait, practice the layering sequence on a single eye: base tone first, shadow second, blush third. A single eye gives you the same technique practice on a contained shape with less pressure than a full face. Move to the full face once the eye looks right.
What paper should I use for alcohol marker drawing practice?
Dedicated marker paper or smooth bristol at 70-90 GSM. Standard copier paper bleeds through and absorbs unevenly — it makes every practice session harder than it needs to be. Most alcohol marker pads come in 50-100 sheet counts, which is enough to work through all 20 practice ideas in this list multiple times. For structured practice books, see the best coloring books for alcohol markers.
How do I practice alcohol marker blending specifically?
The gradient swatch strip (idea 2 above) is the fastest way. Pick two colors from the same family and blend them across a 3-inch strip. Do 10 strips in one session. Adjust your speed: slower if the colors are not meeting, faster if you see hard lines. Ten strips in a row builds the speed and hand memory that makes every blending subject easier. See the full guide on how to blend alcohol markers for deeper technique.
Final Thoughts: Pick One Idea and Start Today
The best practice is the one you do today. Pick the easiest thing from this list — the gradient swatch strip or a single lemon — and draw it now. The 20 things to draw with alcohol markers above build on each other deliberately, but you do not need to work through them in strict order. Start wherever your current skill level sits.
As you work through more of these practice ideas, you will develop a physical log of technique progress. That record is one of the best motivators in the hobby — seeing how your gradient strips from week one compare to week twelve is clear evidence the practice is working. Explore the full Finecolour color range at /palette/ to find the 240+ tones you need to build your practice palette.