How to draw fur with markers starts with what the coat is doing, not with a row of color codes. A coat looks flat when every mark shares the same direction, length, spacing, and darkness. A useful animal-fur study maps growth and value first, then uses texture only where the reference calls for it.
The workflow below moves from a reference map to a final-paper swatch, controlled tapered flicks, a short-versus-long comparison, one small pet study, and a dry-layer finish test. It fits beside the broader guide on how to color with alcohol markers without repeating that page's first-use lessons. It teaches observable roles, not a universal palette, guaranteed realism, a tested Finecolour outcome, or a Copic conversion. The aim is a coat whose large value shapes remain clear before any small strand is drawn.
Key Takeaways
- Map fur-growth direction and light, middle, and dark value groups from a reference before choosing strokes or colors across visible body planes.
- Dry-swatch a light base on the final paper, add a backing sheet where bleed-through can affect the next page, and protect the lightest fur from the first pass.
- Change tapered-flick length, spacing, and grouping for short versus long fur instead of applying one repeated texture across the animal.
- Layer dark accents conservatively, let the marker work dry, then test whiskers or opaque highlights separately without promising restored paper white.
Map Fur Direction and Value Groups Before Coloring
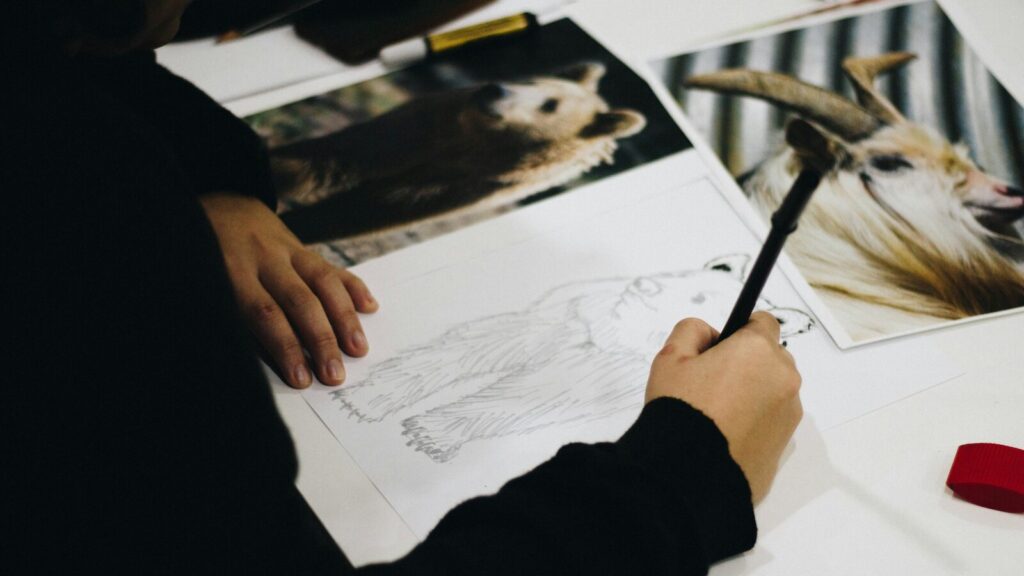
Begin with one clear reference crop and delay the marker choice. Trace broad arrows over the head and body to show where fur grows, turns around form, compresses near a joint, separates into clumps, or breaks the outer silhouette. A forehead may fan away from the center, a muzzle may spread around the nose, and chest fur may drop in larger groups.
Next, identify the light source and simplify the coat into light, middle, and dark shapes. Ignore individual hairs for this pass. The light group needs a visible boundary before ink goes down, since later dark marks do not turn that area back into untouched paper.
Read the coat as direction and value before texture
Cutesified Art's kitty demonstration follows visible fur direction and points back to a real-cat reference when shadow placement is unclear. Copic Marker Europe's one-otter example begins with a light base and asks the artist to practice on scrap. These are bounded examples that support the planning order, not proof that one stroke map fits every animal.
Use the final paper for the dry swatch. The guide to the best paper for alcohol markers owns the wider paper decision, so this step has a narrower aim: see how one possible light base spreads, feathers, and dries on the sheet that will hold the drawing. Put a sacrificial backing sheet under thin or coloring-book paper to protect the next page from bleed-through, not to make the active page bleed-proof.
Turn the reference and thumbnail side by side after the arrows are set. If the light muzzle merges with the middle cheek, or the dark ear loses its shape, redraw those value boundaries before swatching. Texture does not repair a weak map.
| Reference area | Growth direction | Value role | Preserve or test |
|---|---|---|---|
| Face | Away from center lines | Middle shape | Check plane turns |
| Muzzle | Fans from nose and mouth | Light group | Keep visibly open |
| Ear | Upward with rim changes | Dark accent | Test edge control |
| Chest | Downward clumps | Light to middle | Preserve quiet gaps |
| Back | Follows body curve | Middle mass | Check the light source |
| Silhouette break | Out from the body | Selected accent | Use only where visible |
The table is a reading aid, not a coat recipe. Replace each sample row with what your reference shows, and mark any uncertain turn before you choose a darker role. If the value map still looks unclear at thumbnail size, fix the three broad shapes before adding fur texture.
How to Draw Fur with Markers: Practice a Controlled Tapered Flick
A tapered flick begins with controlled contact, travels in the mapped growth direction, and lifts to a narrow end. Practice that motion on a fully dry light-base swatch before touching the drawing. The swatch should use the same paper and backing setup planned for the artwork.
Build the taper on a dry light-base swatch
Test the brush nib or chisel edge you actually have. The dual tip vs brush nib markers guide owns the broad nib-choice question. Here, the useful check is smaller: can this edge make a clean contact-to-lift mark at the angle your reference needs?
Copic Marker Europe documents smooth, one-motion flicks that follow fur direction in its stamped-otter example. Luuk Minkman uses a sharply angled chisel edge in one Ohuhu cat workflow. Those source-bound methods show two possible edges, not a universal winner.
The Finecolour Brush marker range can be an affordable brush-nib practice option for a reader who already has access to it. That mention does not establish an ideal tool, a physical result, or equivalence with the Copic and Ohuhu examples.
Change one stroke variable and inspect the result
Make a small row of marks and change only one control at a time. Try a slight nib-angle shift, lighter contact, an earlier lift, a slower motion, or a different length. Keep the other controls steady so the dry swatch reveals what that change did.
Do not pack the row with identical marks. Vary spacing and grouping, leave quiet gaps, and inspect the contact point, body, and tapered end after the ink dries. A wet or saturated patch may look darker, wider, or softer before dry-down, so no wet judgment should become a marker-performance claim.
| Stroke control | Change one variable | What to observe | Stop or check |
|---|---|---|---|
| Nib angle | Rotate the edge slightly | Width and edge shape | Stop if the edge catches |
| Contact pressure | Press less or more | Start width and ink load | Check for flooding |
| Lift timing | Lift earlier or later | Taper length | Reject a blunt stop |
| Speed | Move slower or faster | Ink spread and hook | Keep direction fixed |
| Length | Extend one motion | Proportion to the coat | Compare with reference |
| Spacing | Open or close gaps | Light base visibility | Stop before gaps vanish |
| Grouping | Cluster selected flicks | Natural breaks | Avoid a repeated fence |
| Full-dry view | Change nothing | Dry width and value | Judge only after drying |
Short Fur vs Long Fur: Change Length, Spacing, and Grouping
Short and long fur need different mark relationships, not fixed millimeter rules. Short fur often reads through shorter, closer, grouped flicks that turn with the body plane. Long fur can use longer strokes, wider gaps, clearer directional clumps, and a stronger effect on the silhouette.
The reference still makes the decision. Short fur can open at a cowlick or ear edge, and long fur can compress tightly under a chin or against a bent leg. Length alone never describes the whole coat.
Build short fur from compact grouped flicks
Start with the muzzle, forehead, or another area where the coat sits close to the form. Place compact groups in the mapped direction, vary their starts and ends, and keep some of the light base visible between selected marks. Turn each group as the face or body plane turns instead of marching parallel lines across it.
Art is Fun documents quick flicks within one named Copic owl-feather workflow. Its underpainting, glazing, white pencil, and opaque-white finish belong to that owl example. It does not supply mammalian short-fur proof or a whisker method.
Build long fur from directional clumps and quieter gaps
Use longer strokes only where the reference shows longer strands or clumps. Let a few groups overlap, vary the space between them, and keep the large value shapes readable underneath. A chest tuft may drop, an ear edge may fan outward, and a cheek may curve back toward the neck.
Lauren Read Color's demonstration stresses color and direction across longer and shorter fur. Treat that as support for observing the coat, not a claim that the same movement works unchanged in every area. Dessindigo covers dog and cat fur direction plus cartoon and semi-real mammals, yet its dedicated texture example is feather-led and does not test realistic short fur against long pet fur.
| Fur area | Relative flick length | Spacing | Grouping | Reference check |
|---|---|---|---|---|
| Short muzzle fur | Shorter | Close with gaps | Compact fans | Turn around nose and mouth |
| Short head fur | Short to medium | Close | Plane-following groups | Follow forehead curve |
| Cheek or chest fur | Longer | Wider | Directional clumps | Keep value masses clear |
| Ear edge | Mixed | Open | Small outward fans | Use visible edge breaks |
| Directional turn | Changes locally | Variable | Groups pivot together | Mark the turn first |
| Silhouette break | Selected longer marks | Sparse | One or two clumps | Match the outer contour |
Compare both stroke sets over the same light, middle, and dark roles. That control makes the length, spacing, and grouping change easier to see without pretending that one palette proves the difference. If either sample loses the broad value map, reduce the marks before moving into the pet study.
Layer an Alcohol-Marker Pet Study Without Losing Light Fur
Choose one small reference crop, such as a cat cheek moving into the chest, rather than a finished portrait. Copy the growth arrows and three value groups from that exact crop. The exercise tests the decision order on a manageable area and does not create a universal pet palette.
Transfer the reference map and establish the light base
Use the same paper, backing sheet, nib edge, and light-base role from the dry swatch. Keep the lightest fur as protected paper or as the lightest base that the swatch showed clearly. Place that base as a broad value shape, then pause before texture.
Dessindigo presents a light-to-midtone-to-shadow order with Graph'it Layout 300 gsm inside its own tutorial. Copic Marker Europe presents one named Copic-brown sequence on a stamped otter. The orders and palettes stay attached to those sources and do not translate into required marker codes for this study.
Add middle and dark texture conservatively
Place the middle-value groups before the darkest flicks. Work in one small area, let it dry enough for a stable visual check, then compare it with the reference map. The middle layer should describe form and direction without closing every gap in the light base.
Add dark accents only where the reference shows a dark group, deep overlap, or selected strand break. Use the broader how to layer alcohol markers guide for general layering mechanics. In this pet crop, the stopping point is the last pass that keeps the planned light, middle, and dark separation readable.
Luuk Minkman's cat uses named Ohuhu colors on Canson Illustration Manga A4 paper, chisel-edge marks, later colored pencil, and a late whisker step. Those details belong to that one cat workflow. Art is Fun's named Copic colors belong to owl feathers, so neither source palette should be merged into a pet formula or recoded for another brand.
| Layer | Job | Where the reference supports it | Dry or check point | Stop condition |
|---|---|---|---|---|
| Protected light | Keep the brightest group open | Muzzle, rim, or lit clump | Check before ink | Boundary is unclear |
| Tested light base | Set the first broad value | Inside the mapped light or middle role | Let sheen leave the swatch | Spread hides the map |
| Middle value | Describe form and direction | Broad shadow shapes | Inspect one small area | Light group starts closing |
| Selected dark group | Place deepest accents | Overlap or cast shadow | Compare after dry-down | Dark mass grows past reference |
| Tapered texture | Break edges into fur | Visible growth paths | Recheck between groups | Marks form a repeated fence |
| Colored-pencil refinement | Add dry surface control | Only where the reference needs it | Test on matching swatch | Pencil drags or muddies dye |
| Final dry inspection | Review all value roles | Complete reference crop | Use stable light | Any role is no longer distinct |
If light or white fur has already become too dark, disclose that limit and stop adding ink. A colorless blender may move or lighten dye, but it is not an eraser and does not restore untouched paper white. A new opaque mark belongs to the dry finishing stage, not to a promised rescue.
A backing sheet has one narrow job in this workflow. It catches bleed-through that could damage the next page or work surface, yet it does not stop ink from crossing or feathering on the active sheet. Record what the same-paper swatch shows instead of assigning that result to every marker paper.
Add Whiskers and Opaque Highlights Only After the Marker Layer Dries
Finish the marker work before bringing in a white gel pen, opaque paint pen, or colored pencil. Make a matching swatch with the same paper, base values, and similar ink load. Let it dry, then check how the exact tool behaves over that layer.
Dry-check the marker layer before testing another medium
Inspect the swatch for skipping, drag, dye pickup, or weak opacity. Jane Maday's demonstration supports placing a sacrificial sheet behind coloring-book paper. Art is Fun and Dessindigo show separate opaque-white finishing inside their own examples, but those uses do not prove archival, lightfast, smudge-proof, or universal coverage.
Untouched paper white, shifted dye, and opaque white are different states. A colorless blender moves dye, and a gel or paint pen lays down a new mark. Label each state so the finished image does not imply restored paper white.
Add only reference-led whiskers and highlights
Pull each whisker from the root visible in the reference and vary length, spacing, direction, and curve. Avoid a uniform fan. Add catchlights or edge accents only where the same reference shows them, and keep a failed swatch result off the artwork.
Luuk Minkman's cat places colored pencil, whiskers, and highlights late in one documented process. That supports a late finishing stage for his cat, not the same media, codes, or outcome for every pet. Use the matching swatch to decide which tested tool moves forward.
| Finish mark | Layer state | Swatch test | Reference cue | Limitation |
|---|---|---|---|---|
| White gel-pen whisker | Fully dry marker | Check skipping and pickup | Visible whisker root | New opaque mark |
| Opaque paint-pen highlight | Fully dry marker | Check opacity and drag | Catchlight or edge accent | Coverage varies by setup |
| Colored-pencil refinement | Dry surface | Check tooth and smearing | Small strand or edge | May muddy saturated ink |
| Preserved paper white | Reserved before ink | Compare with light base | Brightest mapped group | Lost once covered |
| Colorless-blender movement | Dry test patch | Check dye shift | Only a planned local change | Not an eraser |
Final evidence checklist
- One clear reference crop
- Growth arrows across each body plane
- Three value groups with reserved light
- Final-paper light-base swatch
- Backing sheet where needed
- Controlled contact-to-lift flick practice
- Short-versus-long length, spacing, and grouping
- Conservative dark accents with a stop point
- A full dry check under stable light
- Separately tested finishing medium
- Final direction, value, light, and finish audit
Cut any sentence that promises marker performance. Record the paper, swatch setup, dry state, and finish tool, then bind each finding to that run.
FAQ
How do you draw fur with markers?
Begin with a reference photo and mark the fur-growth direction, light source, and light, middle, and dark value groups. Dry-swatch a light base and a restrained darker role on the final paper. Build tapered flicks in small areas, changing their length, spacing, and grouping to match the visible coat.
How do you make fur texture with alcohol markers?
Use a stroke that begins with controlled contact and lifts cleanly to a taper. Practice it over a dry light-base swatch before touching the drawing. Follow the reference instead of filling every area uniformly. Repeat selected groups, leave quiet gaps, and stop when added ink starts closing the planned value separation.
How do short-fur strokes differ from long-fur strokes?
Short fur often calls for shorter, closer, more grouped flicks that turn with the body plane. Long fur can use longer strokes, wider spacing, and clearer directional clumps. These are observation rules, not fixed measurements. The reference decides where either coat compresses, separates, changes direction, or breaks the silhouette.
How do you keep white or light fur from getting too dark?
Reserve the lightest fur before adding darker texture. Begin with a tested light base, keep the light group visible, and add middle and dark flicks only where the reference supports them. Let each layer dry enough to inspect. A colorless blender may move dye, but it does not restore untouched paper white.
When should you add whiskers with a white gel pen?
Wait for the alcohol-marker layer to dry, then test the exact white gel pen or opaque paint pen on a matching dried swatch. Add only the whiskers and highlights shown in the reference. Check opacity, skipping, drag, and dye pickup. Treat the white medium as a separate finish, not a guaranteed correction.
Conclusion: Practice One Small Reference Crop
To practice how to draw fur with markers, start with one small reference crop rather than a finished portrait. Map growth direction and value groups, dry-swatch a light base on the final paper, and practice tapered flicks before layering.
Let short and long fur differ through observed length, spacing, and grouping. Preserve light fur by stopping early, use a backing sheet where needed, and wait until the marker layer dries before testing whiskers or opaque highlights. Record what the swatch actually shows, then carry only those observed choices into the artwork.
Sources
- Art is Fun: Draw Realism with Alcohol Markers
- Luuk Minkman: How to Draw a Realistic Cat with Markers and Pencils
- Jane Maday Art: Coloring Fur with Alcohol Markers
- Dessindigo: How to Draw Animals with Alcohol Markers
- Copic Marker Europe: Colouring Fur with Flicks
- Cutesified Art: How to Color the Kitty's Fur
- Lauren Read Color: How to Color Animal Fur in Adult Coloring Books