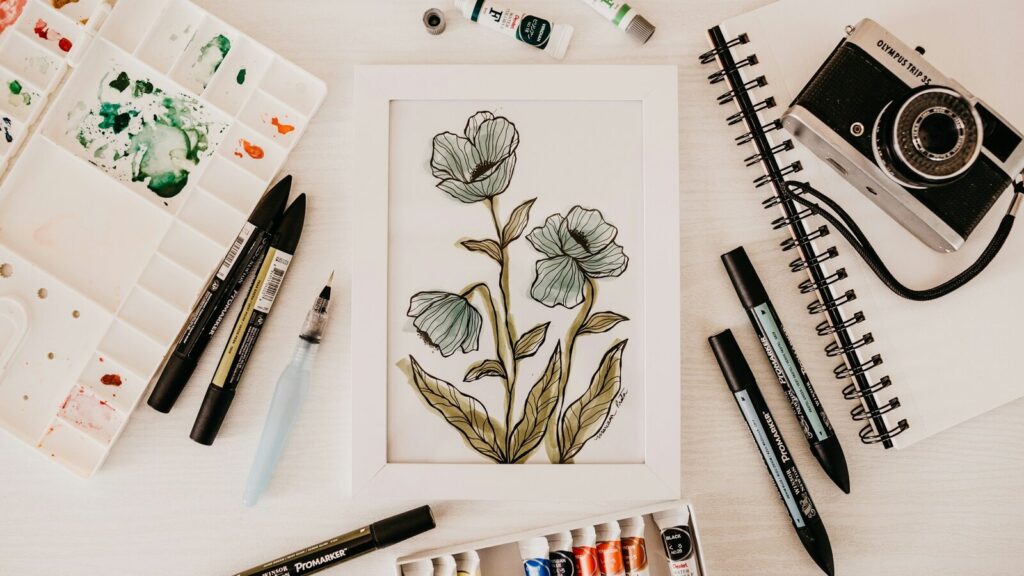
Learning how to color flowers with markers gets frustrating when one dark stroke turns a clean petal muddy. The usual problem is the value order. Dark ink goes down before the light and middle shades have formed the petal, leaving no clean highlight to show its curve.
This alcohol marker flower tutorial uses one repeatable fix. Map the light, start with the palest shade, feather darker color into the wet edge, and save the deepest accents for overlaps. You'll apply that method to a rose, tulip, pale daisy, leaves, and stems.
It's made for a beginner drawing flowers in a sketchbook, rather than someone filling a stamped card. A brush nib and marker-friendly paper help, but shade order and timing matter more than a premium marker set.
Key takeaways
- Put the lightest shade down first, then build depth in small petal groups. This preserves a value map you can still deepen.
- Mark highlight areas before coloring so the white paper stays clean. Add shadow only where the form turns or petals overlap.
- Feather each darker shade into a wet edge, following the petal's growth. Work in small groups so every join stays blendable.
- Test your three markers, liner, and paper together on a scrap before drawing the bloom. Dry swatches reveal whether each shade stays distinct.
What You Need to Color Flowers with Alcohol Markers
Pick three related shades for each flower color. The light shade makes the first fill, the midtone shapes the petal, and the dark shade marks bases, folds, and overlaps. Add a tested liner, scrap paper, and a spare sheet under your work.
Swatch the set in order. Replace a shade if two dry swatches look nearly equal. Label the dry swatches so you can repeat the sequence on every bloom.
Choose a three-shade flower palette and a brush nib
A brush nib bends through a flicking motion. Start at a petal base, press lightly, and lift near the tip. Practice that tapered stroke before working inside a narrow shape.
Finecolour Brush is an affordable option for brush-nib practice. Copic stays the premium blending benchmark. Don't assume matching color codes or identical blending. The method works with any tested three-shade set whose dry values separate clearly.
Use marker-friendly paper and compatible line work
Draw a lined petal on scrap, let the liner dry, add all three shades, and inspect both sides. Check for smearing, edge spread, streaks, and bleed-through.
Recorded examples include Classic Crest Solar White 80 lb, Neenah Solar 80–110 lb, and Ohuhu marker paper. Pick from your test, not a claimed universal winner. Keep a protective sheet underneath, and use the best paper for alcohol markers guide for more paper checks.
How to Color Flowers with Markers: The Light-to-Dark Petal Method
Use this four-part sequence on one small area of wet ink at a time. Keeping the area small gives each overlap a predictable wet edge. Follow these steps in order.
- Mark the light direction, tucked overlaps, and untouched highlight zones.
- Fill a small petal group with the lightest shade.
- Flick the midtone and dark shade outward from bases and overlaps.
- Run the light shade across the wet join to soften it, then stop.
Map light, overlap, and white space before coloring
Pick one light direction for the arrangement. Mark petals that face it and those tucked under a neighbor. Leave thin paper-white gaps at rose overlaps, one broad highlight on the tulip, and large untouched areas on pale daisy petals. This map names the dark zones before ink touches the page and prevents one equal outline from flattening the bloom.
Let the planned shadow widen at a rounded petal's base. Taper it before the tip to describe the curve.
Lay the light base in small workable sections
Color one petal or small connected group with the palest value, then add midtone before the leading edge dries. Don't fill the full bloom first or scrub a slightly uneven spot. Early petals can dry, and extra wet passes can flood the paper. Work in short sections so each shade meets a wet boundary.
Cap each marker after the section. Keep the working order consistent.
Feather midtone and dark accents from the petal base
Place midtone flicks where petals emerge or tuck under a neighbor. Point each stroke along the petal. Add the darkest shade to a smaller part of that zone, naming the deepest fold without covering the full base. See how to blend alcohol markers for a closer wet-edge demonstration.
Reconnect the wet edge with the lighter shade
Touch the light marker to the join and pull outward with a few restrained strokes. Stop once it softens. Repeated passes can spread dark dye into the highlight.
Use a colorless blender to lift or soften a small edge, not to make the core blend. Art is Fun's beginner marker lesson supports this light-to-dark approach. For broader shading basics, review how to color with alcohol markers after practicing the petal sequence.
How to Color Roses, Tulips, and Daisies with Markers
The value order stays fixed, but the stroke length and highlight shape change with each flower. A rose needs narrow gaps and small working groups. A tulip takes longer base-to-tip strokes. A white daisy gets shadow marks on mostly bare paper.
How to color a rose with markers
Start with a loose center spiral, then draw curved petals around it in small rings. Avoid a rigid bull's-eye. Shift each outer petal so its edge meets a gap in the ring inside it. That overlap pattern gives you clear places for shadow.
- Mark the inner cup, tucked edges, and thin highlight gaps. Keep the outer petals larger and more open.
- Fill two or three inner petals with the lightest shade. Leave the planned paper gaps untouched.
- Flick the midtone from the base of each petal toward its tip. Let some strokes end sooner than others so the color edge stays irregular.
- Add the darkest shade in the center cup and under the tightest overlaps. Keep it out of the broad outer highlights.
- Soften each wet join with the light marker, then move to the next petal group. Deepen a fold only after the light and middle values read clearly.
If the center feels crowded, pause and look for lost paper gaps. A narrow white break often separates two petals better than another dark line. On the outer ring, let the light area widen. That shift makes the bloom open toward the viewer.
Check the rose at arm's length before adding another pass. If the inner cup reads as one dark disk, rebuild separation around it on the next practice sketch.
Color a tulip with long directional gradients
A tulip has fewer, broader planes than a rose. Sketch the cup as two outer petals around a center seam, then add the back petals. Choose which outer plane faces the light and reserve one clean highlight there.
- Fill the first outer petal with the light shade, working from base to tip.
- Pull longer midtone flicks upward from the base and center seam. Taper each stroke before it reaches the highlight.
- Put the darkest value low in the cup, along a tucked edge, and on a short part of the center seam.
- Pass the light shade over the wet joins with the same upward motion. Leave the bright plane alone once it reads cleanly.
Keep every stroke tied to the cup's direction. Sideways marks cut across the form and can make the petal look bent. If one edge needs more depth, add a short midtone pass near the base instead of tracing the full outline. A tulip looks fuller when its edges stay lighter than its inner seam.
Rotate the page if your natural flick travels more cleanly in another direction. A comfortable stroke gives the wide petal a smoother taper and reduces corrective passes.
Color a white or pale daisy with shadow only
White petals are built from untouched paper and a small amount of cool shadow. Draw the center disk first, then vary the length and angle of the petals around it. Let a few overlap. That overlap gives the shadow a reason to exist.
- Mark folds, tucked bases, and petals that pass under a neighbor. Keep the open outer area free of ink.
- Add a restrained cool-grey stroke at each marked base or fold. Pull it only partway along the petal.
- Place a small blue-violet note in selected deep overlaps where it helps separate two pale forms. Keep it out of every petal.
- Soften the inner edge of a shadow with a lighter grey, then leave the rest of the paper white.
The Lost in Paper white-flower lesson records this white-space, cool-grey, and restrained blue-violet approach. If the daisy looks grey, you've filled too much. Let the paper carry the flower's local color, and let shadow describe its folds.
Compare the center against the palest petal before deepening it. The center should anchor the bloom without turning every surrounding overlap into one dark ring.
How to Color Leaves and Stems with Alcohol Markers
Leaves and stems need the bloom's light plan. Give them a light side, a shadow side, and selective dark accents. This keeps alcohol marker flower coloring joined into one arrangement. Carry the same flicking direction from each bloom into its supporting foliage.
Shape leaves with directional gradients
Lay a light green base on one leaf. Pull midtone strokes from base to tip along the central vein. Add darker green near the base, under an overlap, or on a short part of the shadow edge.
Leave a narrow highlight on the light-facing side. Vary nearby leaves, and skip a dark outline around every edge.
Keep stems dimensional and veins restrained
Fill a stem with light green, leave a thin highlight, and run a darker shade down one edge. Add depth at a node or under a crossing leaf. After the blend settles, draw a few broken veins with a fine tip. Follow the leaf's direction and stop before the lines compete with the bloom.
Rebalance the finished arrangement
Compare the deepest values across the page. Keep the strongest dark near the focal bloom or a meaningful overlap. Vary flower centers and leaf values. If foliage pulls attention from the flowers, soften one green join or leave the next vein out.
Squint at the arrangement to compare value groups rather than individual lines. Each dark accent should explain either depth, overlap, or focus.
Common Flower-Coloring Mistakes and How to Fix Them
Petals went muddy or too dark too fast
Stop adding the dark marker. Let the area settle, then use the light shade on one join only. Flooding the petal can push dark dye into the highlight.
Badly saturated paper may not recover cleanly. Keep that bloom as a test and redraw with the dark value held back.
Blends look streaky or dry with hard edges
Test the same shades on marker paper before changing your hand motion. A clean scrap points to timing or stroke direction. A streaky scrap points to the paper-marker pairing. Work in smaller groups and keep the next shade ready.
For problems outside flower shapes, use the guide to fix common alcohol marker mistakes. It separates correction methods by ink, paper, edge, and timing problem.
White petals look grey, centers look flat, or leaves feel pasted on
For grey white petals, leave more bare paper and place shadow only at folds. For a flat center, use a light-to-dark center instead of one solid dark disk. For detached leaves, match the bloom's light direction and put the darkest green under real overlaps.
| Symptom | Likely cause | Next-pass fix |
|---|---|---|
| Muddy or overly dark petals | Dark ink arrived before the light and middle values were clear | Stop dark passes and soften one wet join with the light shade |
| Streaks or hard edges | Absorbent paper, a dry working edge, or strokes crossing the petal form | Test the paper, work in smaller groups, and follow petal growth |
| Grey white petals or flat centers | Too much pale fill or one equal shadow value | Restore bare paper and place depth only at folds and overlaps |
| Ink spreading past line art | Too much ink near the edge or paper that wicks quickly | Use lighter pressure, stop short of the line, and repeat the scrap test |
FAQ
How do you color flowers with alcohol markers without making the petals muddy?
Start with the lightest value and leave highlight zones untouched. Add midtone first, then limit the darkest shade to petal bases and true overlaps. Join the shades before the edge dries. Repeated dark passes remove the value gap, so soften one boundary with the light marker and stop.
How do you blend flower petals with markers?
Use short feathering strokes from the petal base toward its tip. Add the middle shade over a wet light base, place a smaller dark accent, then reconnect the join with the light marker. A brush nib makes the tapered motion easier. Copic stays the premium benchmark for smooth blending.
How do you color a rose with markers?
Map the center spiral and group the petals from the inner cup outward. Preserve narrow white gaps where petals overlap. Fill one small group with the light shade, flick midtone from each base, then reserve the darkest color for tight folds. Finish that group before moving to the next ring.
What paper is best for alcohol-marker flowers?
Use paper made for alcohol markers, then test your exact shades and liner on a scrap. Recorded examples include Classic Crest Solar White 80 lb, Neenah Solar 80–110 lb, and Ohuhu marker paper. Put a protective sheet underneath. Pick from the side-by-side result rather than naming one universal winner.
How do you color a white flower with alcohol markers?
Leave most of each petal as bare white paper. Add restrained cool-grey shadow at the base, folds, and overlaps. A small blue-violet note can separate selected deep overlaps.
Keep the outer petal area clean. The bloom reads as white through preserved paper and carefully placed shadow, not an all-over grey fill.
Conclusion: Practice the Same Petal Method
The next time you study how to color flowers with markers, use the same order on every shape. Map the light and overlaps. Fill a small area with the lightest value. Feather midtone into the wet edge, reserve the darkest accents, and carry that light direction through the leaves and stems.
Practice one rose, one tulip, and one daisy on marker paper, then compare them with the mistake table. If you want an affordable brush-nib set for those drills, view the Finecolour Brush markers range. The tool can change, but the value plan stays.