Alcohol markers for bullet journaling create rich blocks of color, yet most planners ask one sheet to do two jobs. You want a bright header or mood tracker on the front, and you may want the reverse for tomorrow's notes. Alcohol ink can cross that sheet, so no ordinary journal deserves a bleed-proof promise.
Choose what will happen to the reverse before you draw. This guide gives you four page strategies, then walks through one header, one banner, and one compact mood tracker. The marker work stays small and controlled, with fineliner added after the color is dry.
The goal is a planner spread you can repeat without hiding the tradeoff. A small test on the real paper comes first, and a sacrificial backing sheet stays under the active page from start to finish.
Key takeaways
- Assume direct alcohol-marker strokes may cross journal paper, regardless of the printed GSM number. Put a fresh, clean sacrificial sheet under every active page before coloring to catch ink that passes through.
- Use separately colored sticker or insert paper when both sides of the bound sheet must stay usable.
- For direct coloring, reserve the reverse or plan to cover it with a notes pocket, collage, quote panel, or second sheet.
- Add fineliner after the marker layer has dried and a same-paper swatch shows that the pen and dye work together.
Will Alcohol Markers for Bullet Journaling Bleed Through a Journal?
Yes, alcohol ink can cross journal paper. The exact result changes with the marker load, number of passes, paper coating, fiber structure, and drying time. A higher GSM figure means more paper mass per square metre, but it doesn't tell you how the coating or fibers will handle dye and solvent.
An 80 GSM test recorded by Organized Mom showed bleed with alcohol markers. The Merrygold Project places common journal stock in an 80–120 GSM range and points readers toward thicker marker-friendly or mixed-media paper. Those examples help frame risk, but they don't establish a universal threshold. For broad substrate choices, see the guide to the best paper for alcohol markers.
Archer & Olive's own journal article warns that alcohol markers bleed through its pages. Its advice includes a backing sheet, covering the reverse, or gluing pages together. Treat that as a named brand's guidance, not proof that every edition or notebook acts the same way.
Separate ghosting from bleed-through
Ghosting is a shadow seen through the page when ink remains on the front side. Bleed-through means ink has crossed the sheet and appears on the reverse. Transfer happens when that ink reaches the next sheet, and desk damage occurs when no barrier stops it below the book.
These outcomes need different responses. A faint shadow may leave the reverse writable, yet crossed dye has changed that surface. A backing sheet catches transfer and guards the desk, but it doesn't undo bleed-through on the active page. The full do alcohol markers bleed through paper guide covers the broader mechanics.
| Result | What it means | What to protect |
|---|---|---|
| Ghosting | A shadow shows through, and dye has not visibly crossed | Check reverse legibility before planning it |
| Bleed-through | Dye appears on the active sheet's reverse | Reserve, cover, or give up that reverse |
| Transfer | Dye reaches the sheet below | Place clean scrap paper under the active sheet |
| Desk contact | Ink passes beyond the book | Use a non-porous mat under the journal |
Check the back under normal room light and again against a white sheet. A faint shadow and a wet spot are different findings, so record the dry result before changing the page plan.
Test with the stroke count you plan to use, not one token line. Let the swatch dry, then inspect the front, reverse, following sheet, and work surface. That simple check tells you which page strategy fits this spread without turning one trial into a claim about every notebook.
Choose a Page Strategy Before You Color
Your first choice isn't a marker shade. It is the part of the journal that must remain usable after coloring. Pick one of four routes, write that choice at the top of a test scrap, and keep the same route across the spread.
Use sticker or insert paper when both journal sides matter
Color the artwork on separate paper, let it dry, trim it, and attach it to the planner. Mingo Studio reports two years of no ghosting or bleeding from artwork made on sticker paper and then attached to the journal. That result belongs to the separate-paper method, not to direct alcohol ink on notebook stock.
Use a sticker for a permanent header or tracker panel. A removable card or taped insert works when you want to move the art, archive it, or change the layout later. Test the insert itself for bleed and put scrap paper under it during coloring.
Use a single-sided or protected-reverse layout for direct coloring
Direct coloring gives the marker access to the bound page, so plan around a lost or changed reverse. Dedicate one face to art, then use the following usable face for writing. In a dated planner, check the page order first so you don't cover a date or task list you still need.
Keep a sacrificial sheet under the page. Quick, light strokes may reduce the amount of ink placed in one spot, but they don't promise a clean reverse. Stop once the shape reads clearly rather than chasing a blend that needs repeated saturation.
Cover or glue the reverse deliberately
Turn the changed reverse into part of the layout. You can add a quote panel, a notes pocket, a collage, or a second sheet glued over the area. Check the added thickness at the spine and keep adhesive away from wet marker dye.
This route doesn't make the original mark disappear. It gives the reverse a planned job. Wait for the paper to dry and flatten before adding adhesive, then close the journal only after the new layer sits cleanly.
| Strategy | What stays usable | Tradeoff | Best fit |
|---|---|---|---|
| Sticker or insert | Both sides of the bound sheet | Extra cutting or attachment step | Two-sided planners and reusable panels |
| Single-sided sheet | Colored front and later sheets | Active reverse is reserved | Art pages and section dividers |
| Protected reverse | Later sheets and desk | Active reverse may show dye | Small direct headers with planned blank backs |
| Covered reverse | Front plus a new surface on the back | More bulk near the spine | Pockets, collage, notes, or quote pages |
Choose the route before testing colors. The result you need from the reverse matters more than a notebook label, GSM figure, or marker nib, and it should guide every later choice.
Build Alcohol-Marker Headers and Banners
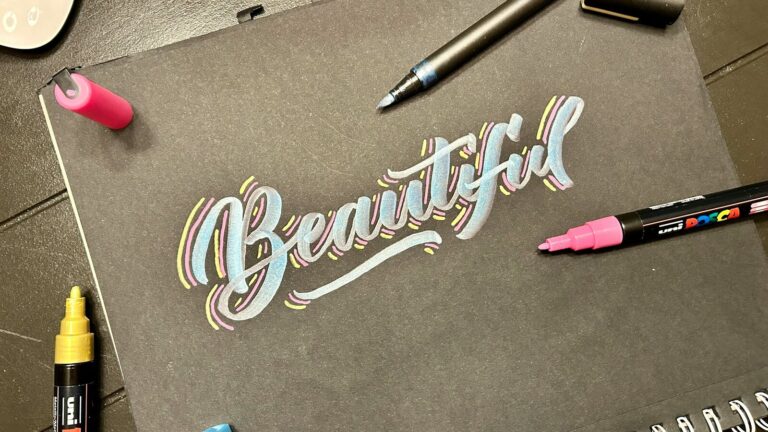
A useful planner header needs clear letters and controlled color, not a full calligraphy lesson. Work on the substrate chosen above and keep the palette to two or three related dried swatches. A brush nib can shape broad lettering, but nib shape doesn't prevent ink from crossing paper.
Plan the header on the chosen substrate
Test the actual paper, marker, and stroke load on a spare edge or matching insert. Put the backing sheet in place, draw a light pencil baseline, and mark the left and right limits of the header. Leave room for the word before adding color.
Choose two or three shades from dried swatches, since wet ink can look darker or brighter. Give each shade one job, such as a light base and a darker lower edge. The Finecolour Brush markers range is an optional tool reference. Check your own set and paper before using it in the spread.
Lay color quickly and stop before the page floods
Start with the lightest shade. Form the heading or banner in one controlled pass, then place the darker shade only in the chosen overlap zone. Return to the lighter marker for one short join pass when the swatch test calls for it.
Avoid rubbing over small corners again and again. Repeated wet passes add dye and raise the chance of bleed. A simple flat banner often suits thin planner paper better than a long gradient with many corrections.
Let the shape dry before judging the join. Pico Studio's planner demonstration uses a brush-nib header followed by a fineliner outline and protects the desk underneath. Use that order as a workflow reference, not a promise that the same pair passes on your paper.
Before moving on, check the setup:
- The page strategy is chosen and the reverse has a job.
- A clean backing sheet sits directly under the active page or insert.
- The palette is based on dried swatches from the same substrate.
- The outline pen stays capped during marker work.
- The marker layer gets a full dry check before line work.
- The page still fits the layout once the header and banner are in place.
For a wider look at nib behavior, use the dual-tip vs brush-nib marker guide. Keep this planner trial focused on one header and one banner rather than testing every tip at once.
Create a Mood Tracker with a Compact Palette
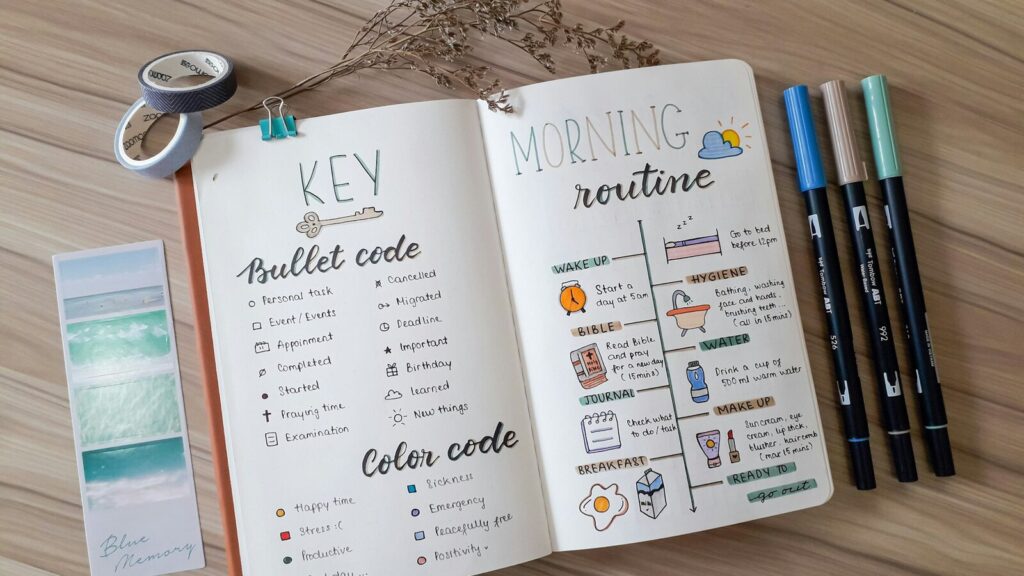
A mood tracker repeats one small color choice across many days. Plan the key, cells, and reverse-page treatment at the start of the month. That makes each daily mark short, readable, and less likely to push wet ink across a boundary.
Build the key before filling the tracker
Choose four to seven states you can name in plain words or symbols. Pair each state with a dried swatch, then place neighboring colors side by side on the test strip. If two dried shades look too close, replace one before drawing the key.
Keep the labels useful without relying on color alone. A dot pattern, short code, or shape lets you read the tracker under poor light and gives the key a second cue. No color has one fixed emotional meaning, so choose labels that match your own record.
Zebra's Mildliner and Sarasa tutorial supplies a header, key, and repeated-cell sequence with water-based tools. Borrow the planning order, not the paper result. Alcohol ink needs the page decision and backing step already set.
Fill one small cell at a time
Put the backing sheet under the active page before each entry. Fill one cell with the tested pass count and keep the stroke inside its boundary. Let it dry before deciding whether another pass is worth the added ink.
Use the same page route all month. If the tracker sits on an insert, color that insert away from the book. If it sits on a bound sheet, keep its reverse reserved or covered according to the first-day plan.
The query “alcohol markers in Hobonichi” names a reader scenario, not a paper result. Test the exact edition, paper, marker, and pass count. An insert or sticker is the safer route when the bound page's reverse must remain available.
| Step | Marker action | Dry check | Page-protection check |
|---|---|---|---|
| Setup | Swatch four to seven shades on matching scrap | Compare only after each swatch dries | Put a barrier below the scrap |
| Key creation | Fill one sample cell per state | Check dry contrast between neighbors | Confirm the key uses the chosen page route |
| Daily marking | Add the recorded pass count to one cell | Wait before adding a second pass | Keep backing under the active page |
| End-of-week review | Compare dry cells and label clarity | Leave finished cells untouched | Inspect reverse and replace stained backing |
| Reverse handling | Add the planned insert, blank back, pocket, or cover | Work only after the page dries | Check bulk and adhesive near the spine |
Layer Fineliners Only After the Marker Dries
Marker first, fineliner last. This order keeps the pen tip away from wet dye and gives you a chance to test the pairing before it reaches the spread. A waterproof label covers the pen's stated water behavior, but it doesn't certify every alcohol ink, paper, and dry interval.
Test the pair off-page
Make a marker swatch on the same paper or insert with the same number of passes. Let it dry for the interval you plan to use, then draw a short fineliner line across it. Check the line for feathering, skipping, smearing, and color pickup on the pen tip.
Repeat the test after a longer dry period if the first line moves dye. If the result stays poor, keep the marker edge unlined or switch one part of the pairing. Don't test compatibility for the first time on the finished header.
Add outlines, labels, and small details after drying
Outline only the edges that need definition. Use light pressure, lift at corners, and keep small labels outside any tacky patch. Stop and clean the tip according to its maker's care directions if you see color pickup.
The Finecolour Fineliners range is one optional line tool, not a blanket compatibility claim. Test the exact nib width, marker shade, substrate, and dry interval before outlining the planner page.
Keep the supply list short: your chosen page or insert, clean backing paper, two to seven dried palette swatches, an optional brush nib, one tested fineliner, and matching scrap. A wipe-clean mat under the journal guards the work surface when the backing shifts. Store the tested scrap with the palette so next week's outline begins from the same recorded pair.
FAQ
Can you use alcohol markers in a bullet journal?
Yes, but plan for bleed-through instead of treating the page as bleed-proof. Test the exact marker and paper, protect the sheets below, and decide whether to color directly, use a removable insert or sticker, reserve the reverse, or cover it deliberately. Choose before you build the spread.
Do alcohol markers bleed through journal paper?
They can, and visible ghosting is not the same as ink crossing the sheet. Paper weight alone does not predict the result. Make a small test with the planned stroke count, place a sacrificial barrier behind it, let it dry, then inspect the front, reverse, next page, and desk.
What are the best markers for a bullet journal with no bleed?
No alcohol marker can be promised as no-bleed on every journal paper. If both sides must stay usable, a water-based tool is the safer direct-page starting point, or color an insert or sticker separately. If you still choose alcohol ink, test the exact combination and plan the reverse page before committing.
Can you use alcohol markers in a Hobonichi?
Do not assume the answer from the notebook name or a different edition. Test the exact Hobonichi paper and marker with your intended passes, protect the following sheets, and inspect after drying. When the reverse page must remain usable, color on an insert or sticker rather than the bound page.
When should you outline alcohol-marker headers with a fineliner?
Add fineliner only after the marker layer has dried and a separate swatch shows the pen will not feather, skip, smear, or pick up color on that substrate. Use the same marker load and dry interval as the spread. Then outline headers, labels, and small details with light pressure.
Conclusion: Choose the Page Strategy First
Alcohol markers for bullet journaling work best when the reverse-page decision comes before the color. Choose an insert when both sides matter, or reserve and cover the reverse when you color the bound sheet. Place clean backing paper below the work, build the marker layer with the tested pass count, and wait for it to dry.
Test the fineliner on matching scrap before adding outlines or labels. Start with one small header and one tracker cell, then inspect the front, reverse, next sheet, and desk. That trial gives you a repeatable method for the rest of the spread without asking the notebook to make a promise it can't keep.
Sources
- Mingo Studio — You Can't Use Alcohol Markers in a Bullet Journal: Wrong
- Isa Obradovich — Bleed-Proof Marker Paper Test
- Organized Mom — Bullet Journal Markers
- The Merrygold Project — Markers and Pens for Bullet Journaling
- Zebra Pen — Habit and Mood Tracker Tutorial
- Pico Studio — How Not to Ruin Your Journal with Alcohol Markers
- Archer & Olive — Alcohol Markers in Your Bullet Journal